

Here most detailed procedure on TPMS sensors market trends, the reason to use Autel MaxiTPMS diagnostic scan tools, the procedure for solving most of the daily TPMS repair scenarios you may encounter, how to use Autel MaxiTPMS TS601 and MaxiTPMS PAD and more. Please proceed to reading following parts.
TPMS sensors market trends?
It has become very difficult for tire shops nowadays to keep up with the dizzying variety of OEM sensors, and even impossible to stock the incredible number of OEM sensors that would be required to cover the market. In addition, the original TPMS sensors with sealed battery generally last for 6-8 years. With a large-scale of sensors in use for six years now, the first wave of battery failure is starting to appear. That means an enormous number of sensors will have to be replaced in the next few year.
Why need Autel MaxiTPMS Tool?
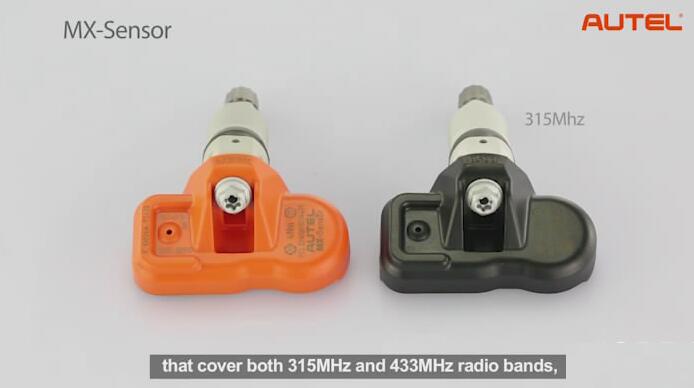
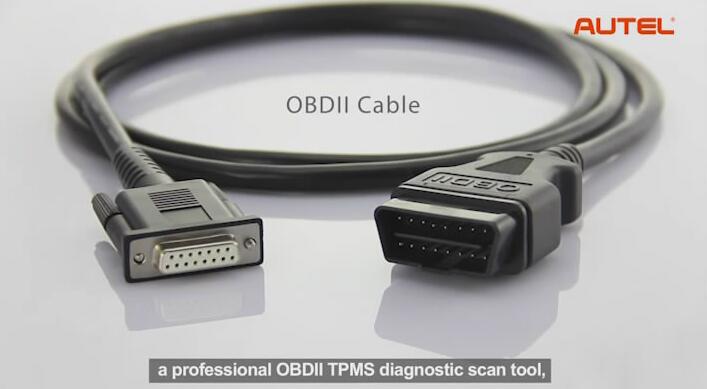
Autel’s MaxiTPMS diagnostic scan tool series come just in time to quite literally save all troubles. The MaxiTPMS system consists of the programmable MX-Sensors that cover both 315MHz and 433MHz radio bands, a professional OBDII TPMS diagnostic tool is able to relearn vehicle ECUs and program the MX-sensors, plus a convenient programming accessory device to perform fast sensor testing and cloning. In short it covers all that is needed to deliver comprehensive TPMS service. The MaxiTPMS series is aimed at simplifying TPMS services to help you solve problems more easily and efficiently, and enhance your profitability.
There are 3 basic procedures for solving most of the daily TPMS repair scenarios you may encounter:
1. Activating TPM sensors.
2. Cloning a set of TPM sensors.
3. Creating a new set of TPM sensors.
Car model and year for example:
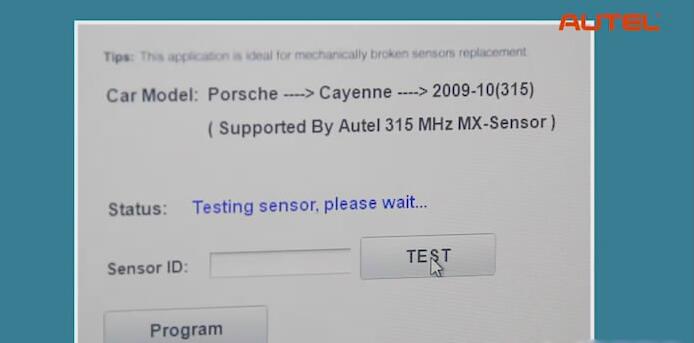
Porsche Cayenne 2009-2010
Tool to use:
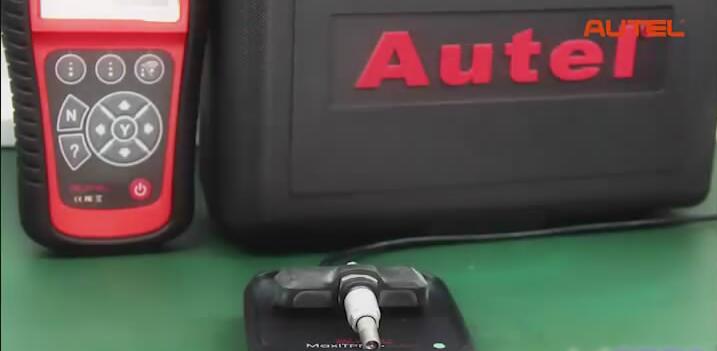
Autel MaxiTPMS tool TS601
Autel 315 MHz MX-sensor
Autel MaxiTPMS Pad
Now we are going to show you how the MaxiTPMS tools interface with each other to complete these procedures quickly and easily.
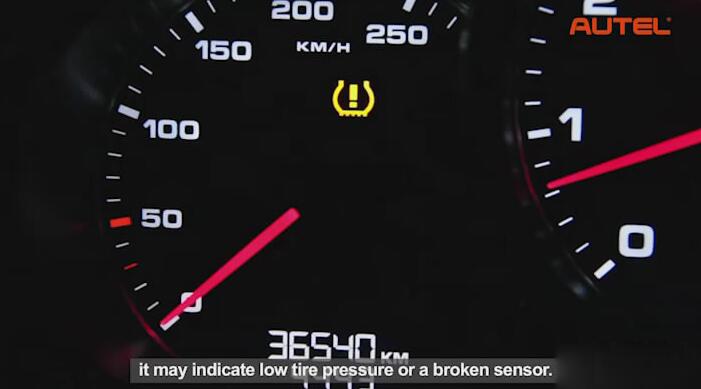
When the TPMS warning light is on, it may indicate low tire pressure or a broken sensor.
In order to solve the problem and turn off the warning light, let’s start from the first procedure to activate the TPM sensors using the Autel TS601 scan tool.
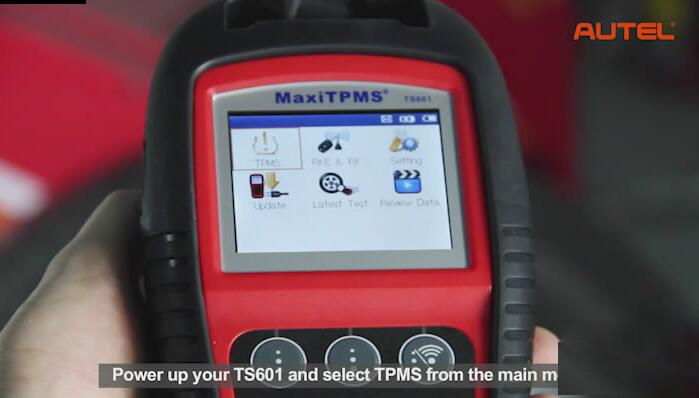
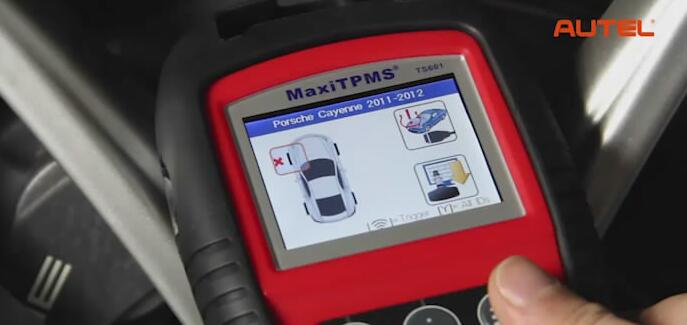
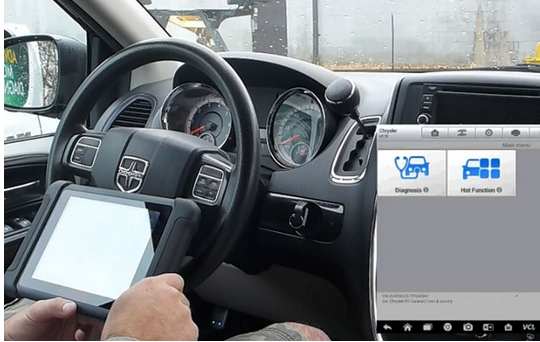
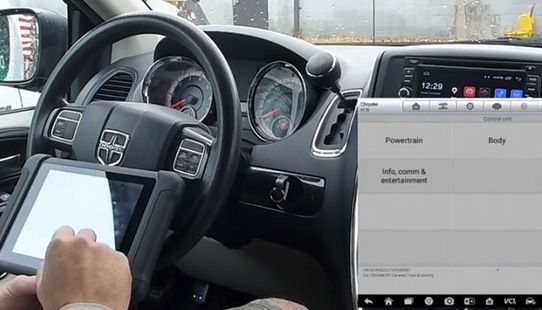
1). Power up your TS601 and select TPMS from the main menu.
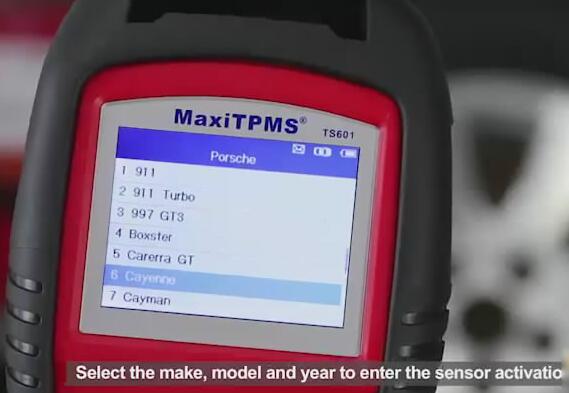
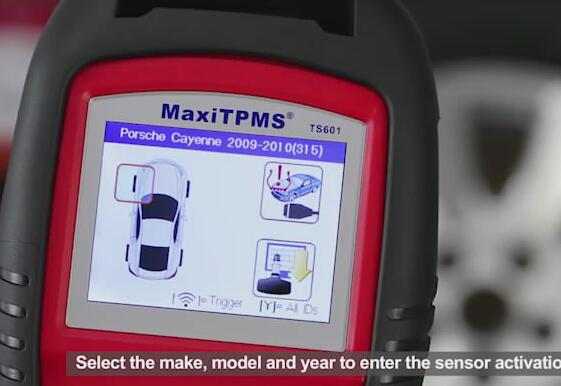
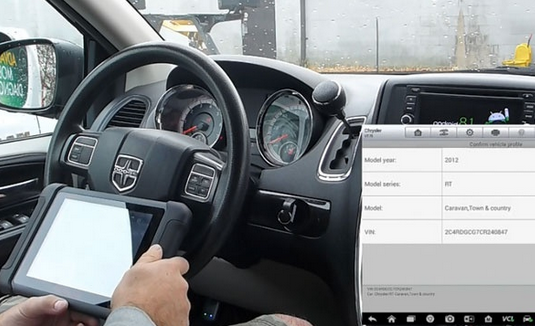
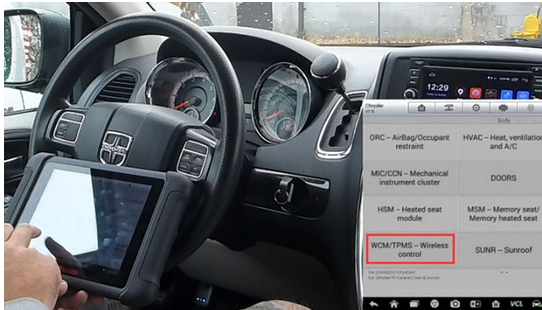
2) Select the make, model and year to enter the sensor activation screen. For example: Porsche Cayenne 2009-2010
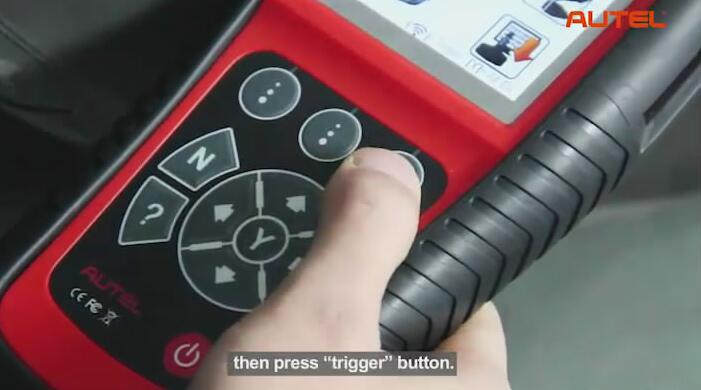
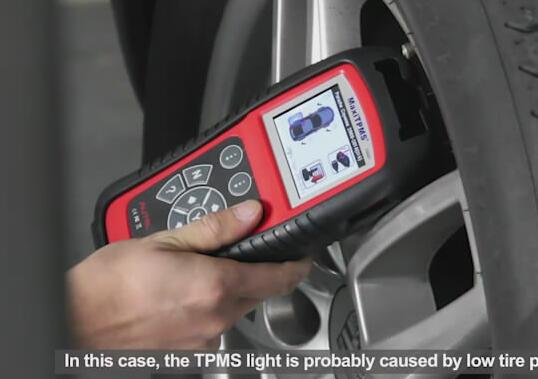
3)Take a walk around the car to each tire and point the TS601 tool at the valve stem, then press the trigger” button.

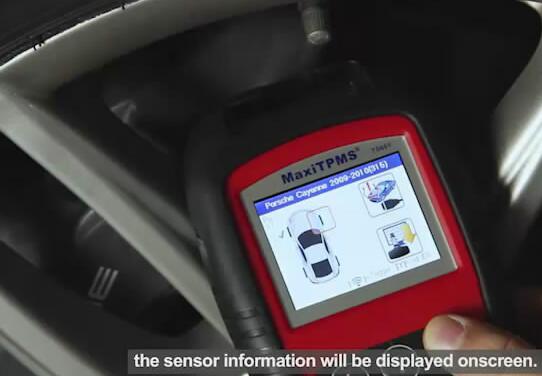
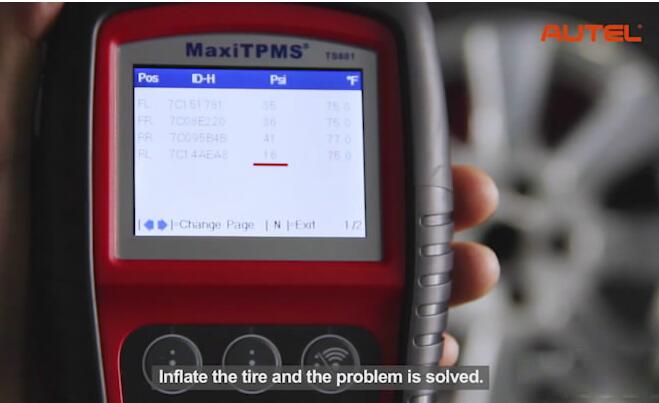
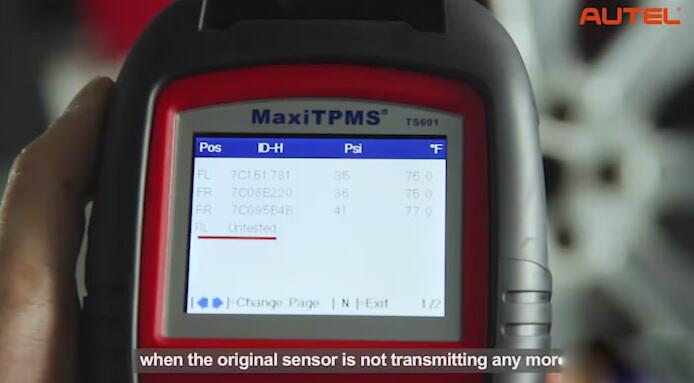
If the sensors are good and reading is successfully, the sensor information will be displayed on screen. In this case, the TPMS light is probably caused by low tire pressure. Check the test result on the Autel TPMS TS601 tool to find out the tire with low pressure value. Inflate the tire and the problem is solved.
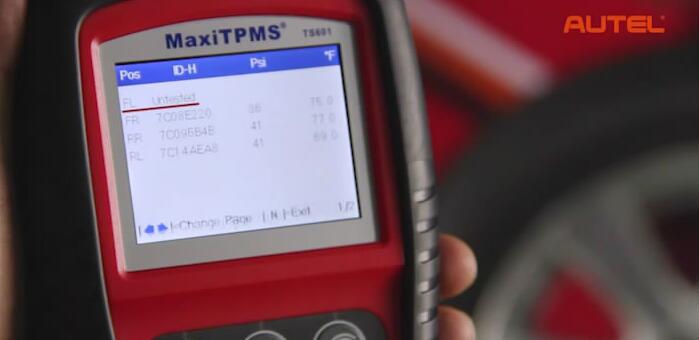
If the sensor is bad and reading has failed, this may indicate that the
sensor is broken either mechanically or electronically (Damaged, low
battery), in this case you need to replace the sensor by cloning one
with the original sensor ID or simply create a new one with a generated
sensor ID.
There are 3 ways to clone a set of TPM sensors:
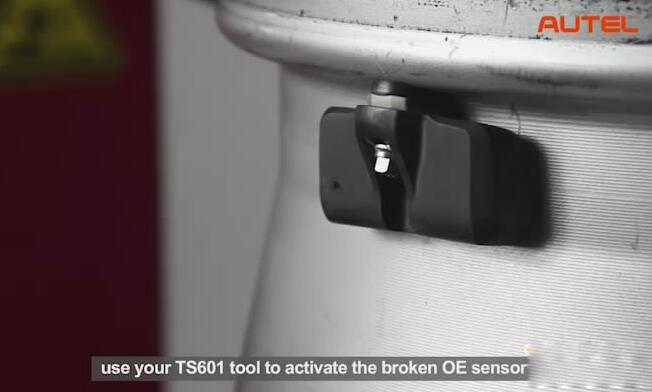
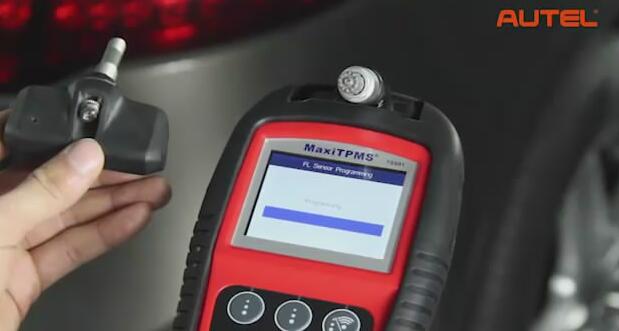
1st method: Using the Autel TS601 scan tool and a MX-Sensor. With the first method, use your TS601 tool to activate the broken OE sensor directly to retrieve the sensor ID and then program to the MX-Sensor.

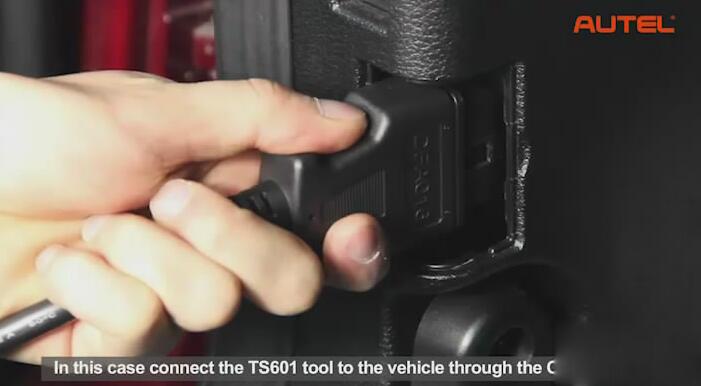
2nd method: The 2nd method can be used when the original sensor is
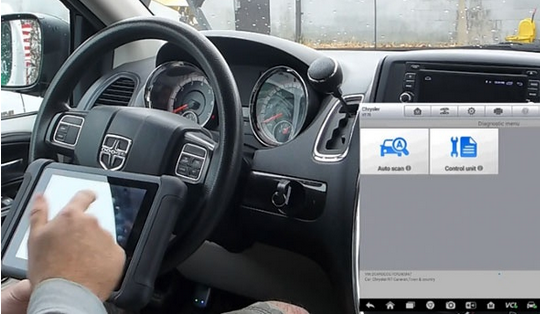
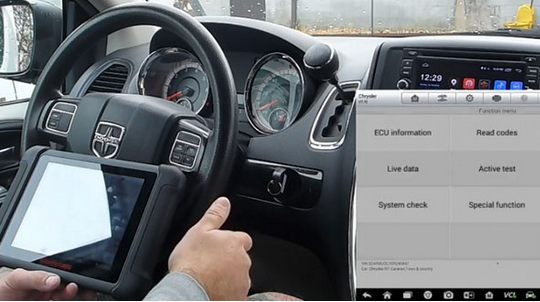
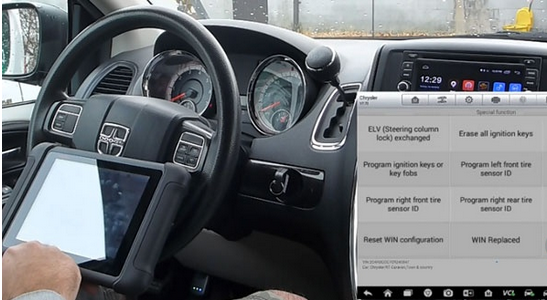
not transmitting any more. In this case connect the TS601 tool to the
vehicle through the OBDII cable and retrieve the sensor ID from the car
system.
Unplug the TS601 from the car when learning is successful, insert the MX-sensor and program the Copied ID to the sensor to finish cloning.

3rd method: to manually input the original sensor ID to the TS601 tool and the program it to the MX-Sensor.

In conclusion:
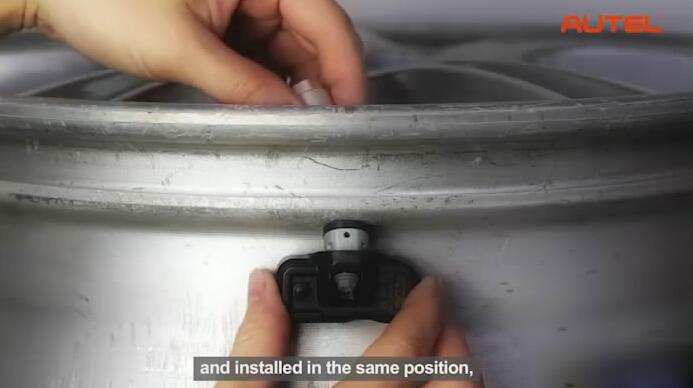
Since the new sensors reprogrammed with the same original sensor IDS and installed in the same position, no TPMS relearn procedure is needed after replacement. When the original sensors are electronically broken that the reading has failed, or the sensors are simply missing with no reading, you can always use the TS601 scan tool to create a new set of TPM Sensors. Enter the TPMS function from the main menu on TS601. Select a specific vehicle make, model, and year following the menu navigation.
Operate the Auto Create procedure to generate a new set of random sensor IDS. Insert the MX-Sensors to the slot on the TS601 tool and proceed to program the sensors with the new IDS. Since the sensors are programmed with new unique IDS, you need to perform a TPMS relearn on the car, so it can recognize the new installed sensors.

When to use MaxiTPMS Pad?
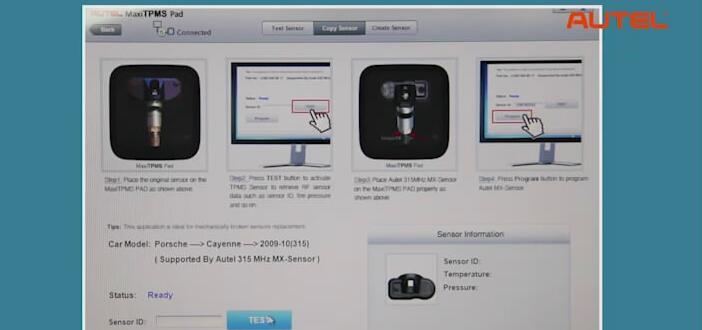
For busy shops where fast and volume production of copied or programmed sensors are greatly needed, the sensor programming accessory device MaxiTPMS Pad is the ideal solution for your fast growing business. MaxiTPMS Pad is a simple tool with an extremely easy-to-use PC program interface that performs sensor activation, copying and programming in just 3 steps:
1) Load the software on the PC.
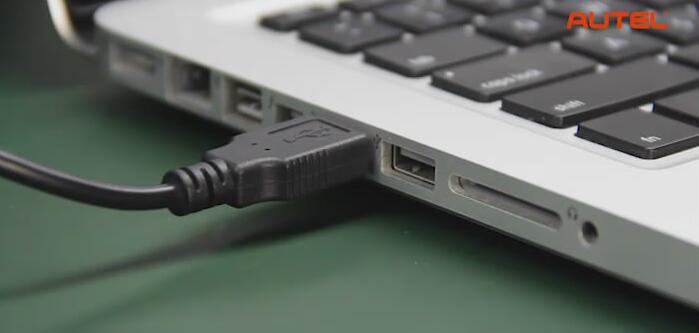
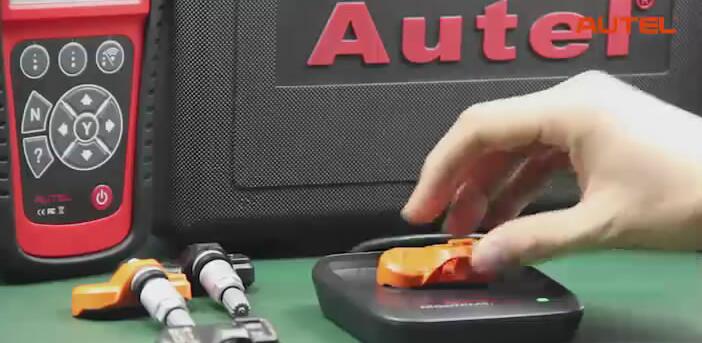
2) Connect the MaxiTPMS Pad to the PC.
3)Program MX-Sensor.


درباره این سایت